The Old Printshop #
Until and including the summer semester 2006, we printed not using digital printing methods but offset printing methods. From this time, printing descriptions still exist, which we don’t want to withhold from you for nostalgia reasons.
Printing Machine #

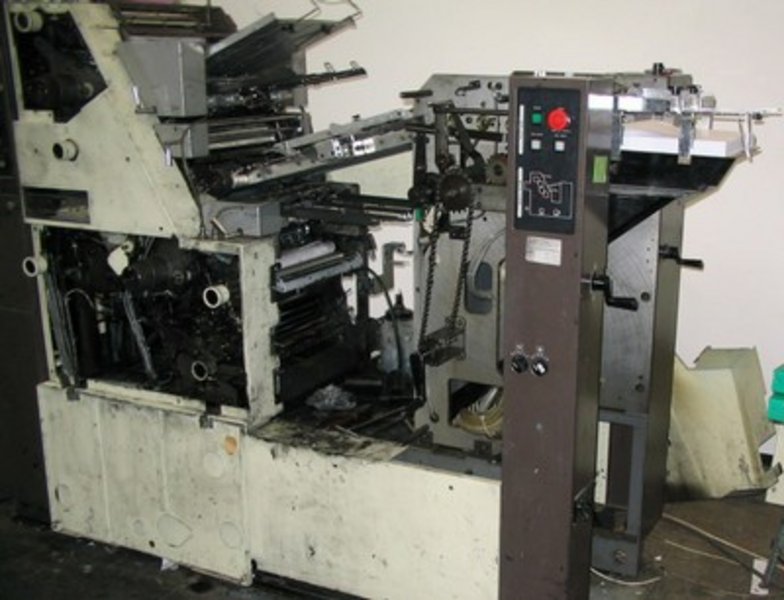
Training on the printing machine is significantly more demanding than training on, for example, the cutter, layout, or gluing machine. In the high-resolution image below, the machine is seen with a few covers open. You can really feel the fascination of the machine when you’ve seen it in action.
Since the machine consists of 90% mechanical components, you definitely need to print for at least a week to get an approximate feel for the machine. For those interested, it’s a Hamada 2002, which was distributed by AB Dick.
Laying Street #
Now I will explain the process in the printing room a bit more closely.
The printed A3 pages are further processed into scripts by the layers. There is a distinction between stapling jobs and gluing jobs. The difference is that the stapling jobs are directly sorted into the laying machine, and the gluing jobs are cut to Din A4 with the cutting machine beforehand.
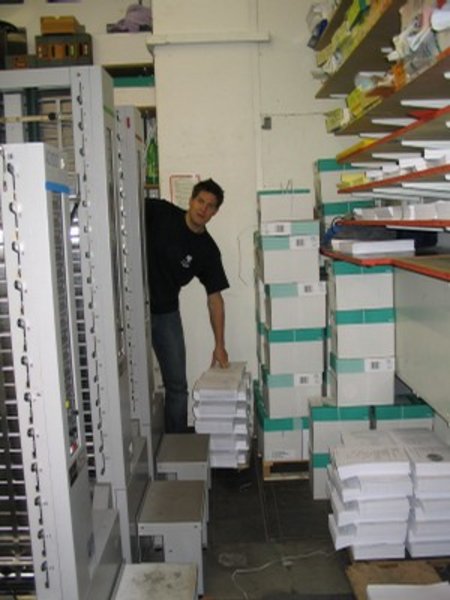
In the next image, the laying machine with three towers is depicted. Patrick is also visible with stacks of cut DIN A4 pages, which he will sort next. The towers have 12 and 16 compartments twice, respectively, meaning a total of 44 sheets or double-sided 88 pages can be laid in one pass. The instruction on the laying machine takes about half an hour.

However, there are some tricks and knacks that you only learn when working with the machine. Because you work with the material paper, you very quickly learn that this material can have its surprises. ;) Small dog-ears and not perfectly fanned stacks cause quite a few problems when laying.
If a script has more than 88 pages, the script must be laid in several parts, which are then reassembled. In the next image, the laid stacks are depicted.
Stapling is done in one step with laying, i.e., the scripts are laid and stapled and are ready. Only the scripts for gluing need to be further processed. In the next image, the shaker is visible on the table (red arrow). Hearing protection is recommended when “shaking” ;)
After the scripts are shaken, they are glued at the gluing machine. Gluing seems super easy at first glance: insert the script, insert the strip, and press the button. The machine does the rest. However, after gluing, all pages should also be on the glue strip and not stick out sporadically 2mm above it.
Therefore, it is essential to work carefully here and fan out the scripts well.
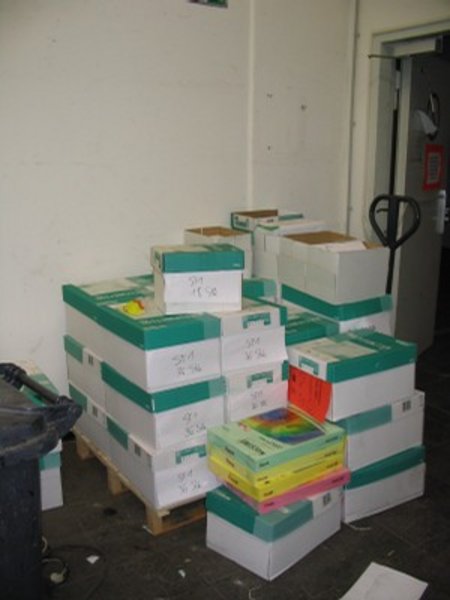
Finally, the scripts are cut again with the cutting machine and sorted into cartons. Here is another image after everything is finished :).

